Saturday 26 September 2015

How to Make Bullion Cubes at home


Stop buying bullion cubes!

Instead start creating flavor cubes (as I call them).

After cooking chicken, turkey or a roast there are always drippings left over in the pan.
Yes, sometimes you will create gravy but most often all that deliciousness goes to waste.

Waste no more! *smile*

Those drippings are perfect for homemade soup!
Or anything else requiring a bullion cube.
I recently used a flavor cube (actually two!) in this recipe.
It worked fantastically!
So delicious!  
Simply freeze some of the meat drippings in an ice cube tray.
Pop Dig them out (they made need a little persuasion) and store them in an
airtight container or zip-top bag in the freezer.


Replace one bullion cube in any recipe with one flavor cube and 1 Tbsp of salt.
Delicious!!!  With no additives or unpronounceable ingredients. *wink*

Happy thoughts,
Andrea
If you would like to receive regular blog updates
be sure to "Like" my Facebook homepage here:

Tuesday 22 September 2015

How to get More BACON! - bacon bits


Do you want to add more bacon to your life?

Who doesn't ?!?!

Whenever we make bacon (which is about once a week!)
I always make sure to grab about two slices before it's all eaten.
I cut up these slices into very small pieces and tuck them in the freezer.


That way I always have some bits on hand as:

            -homemade bacon bits for salad (the tastiest you've ever had! I promise!!)
            -a topping for pizza (sometimes it's the only topping!)
            -jazzing up a simple cheese and tomato sandwich (always better!!)
            -a topping for potatoes (when potatoes feel boring, add bacon!)

Bacon: the pixie dust of the food world. *wink*

Saving just a few slices of bacon can help take everyday meals into awesome meals!!

Happy thoughts,
Andrea
If you would like to receive regular blog updates
be sure to "Like" my Facebook homepage here:


Thursday 17 September 2015

How to make Granola Bars - wheat free!


Every school now has some restriction on what foods
can and can't be brought for lunches.


My son's school did not allow nuts.  As is the same with many.
But my son's school also didn't allow chocolate.
And my son has a soy allergy.
All this culminated into the perfect granola bar storm.
Which meant that there were no granola bars available in stores
that I could buy for my son's lunches.
*shake my hands at the sky in frustration*


What's a homemaking Mom to do?


Make her own of course!
(And since Evalynn cannot have wheat I took that out of the recipe too)


Ingredients:
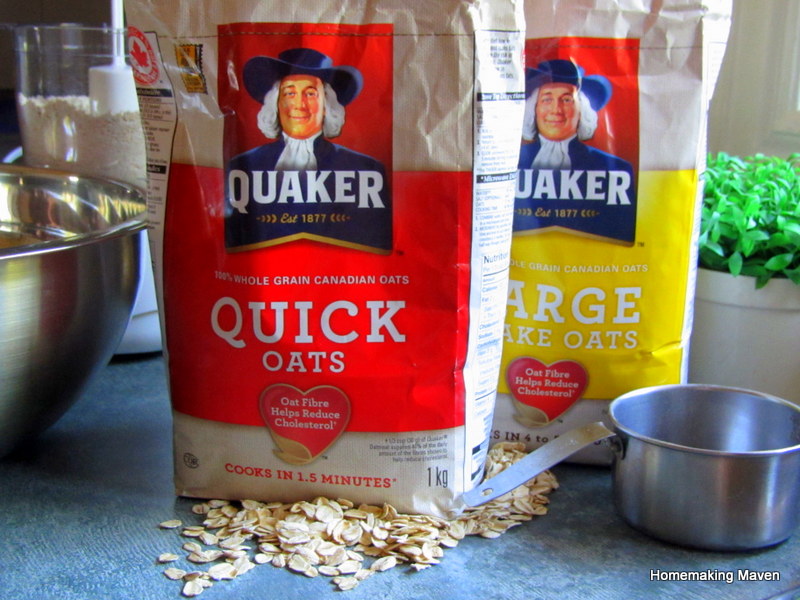
3 1/2 cups Quick Oats
1 cup Large Flake Oats
1 cup Quick Oats, ground (I use my blender) or Oat flour
1 tsp Baking soda
1 tsp Vanilla
1/3 cup Brown sugar
1/2 cup Honey
2/3 cup Butter, melted
1 cup Anything! (nuts, raisins, seeds, chocolate chips, dried fruit or other) -- my kids love pumpkin seeds in theirs.


How To:
1. Combine all ingredients in one big bowl.  Mixing "with love" (with your hands) works best.
2. Line a 9x13 baking sheet with parchment paper, wax paper or a silicon baking mat.  Be sure edges are also lined.
3. Press mixture onto sheet.

4. Bake 350 F for 12-15 minutes
5. Remove from oven and cut bars immediately.  Allow to cool on the sheet . They will harden as they cool.  Any loose pieces can be pressed back into place before cool.  
6. Break apart when cool. Store in a resealable container or zip-top bag to retain crispness.  

Lined baking sheet using a combination of parchment paper and silicon liners.
 
Cut before cooling!  A most important step!!  A pizza cutter is great for this job.

 These bars last a long time!   
They will happily sit on your counter or in your cupboard. 
The honey acts as a natural preservative.

These bars will not last long!  
Meaning your kids, your friends and your self will want to snack on
them.  All. The. Time.  A very good friend made these bars for her girls and herself. 
The bars didn't even make it out of the pan!  They are THAT delicious!!!


 Be sure to bookmark this recipe so you can make them again and again.
And enjoy them.  Before they're gone!! *Big grin*


Happy thoughts,
Andrea

If you would like to receive regular blog updates
be sure to "Like" my Facebook homepage here:

Friday 4 September 2015

Homemade Pizza Crust


We LOVE Pizza!

It is cheap and easy to make at home.
All you need is flour, water, salt, yeast and oil.
(And 20 minutes *wink*) 
We find pizza to be a fantastic way of using up leftovers.
It also makes quick enough for those days when I need a supper that is ready fast
and will still satisfy my picky eaters.  I'm lookin' at you Mav!

Here is how we make it:  

Ingredients
1 cup all purpose flour
1 tsp (heaped) quick rise yeast
1 1/2 tsp sugar
1/2 tsp salt
1/4 tsp garlic powder (typically I just give the spice jar a couple of shakes) 
2/3 cup hot tap water
3 Tbsp oil (olive oil is nice but any oil will do)

3/4 cup to 1 1/4 cup all purpose flour

 How To

1. Mix all ingredients (omitting last ingredient of flour) in a large bowl.


2.  Knead in 3/4 cup of flour to the dough.  If dough sticks to bowl add another 1/4 cup of flour.  Continue kneading in flour 1/4 cup at a time as needed  (More or less flour is needed based on the humidity of your home.  Use what works best for you. *smile*) until a soft ball forms.  Knead for an additional 4 minutes.


3. Prepare a baking sheet for the pizza crust.  Line the sheet with either parchment paper, a reusable silicone liner or coat with oil then flour.

4. Press dough into a large oval and place on sheet.  Slowly work the dough to the edges of the baking sheet.  For a thin crust pizza (our fav!) use crust immediately.  If you prefer a thicker softer crust simply allow the crust to sit for 30 minutes to one hour before adding toppings.


5. Top with any pizza toppings you like.  We use 1/4 cup of pasta sauce, shredded cheese, meat (most often leftovers) and vegetables we have on hand.

6.  Bake at 425F for 15 minutes.


Yum, Yum!  
Enjoy!!!


Happy thoughts,
Andrea


If you would like to receive regular blog updates
be sure to "Like" my Facebook homepage here: